VLAN8 - Printing from OSX
Via /wiki/spaces/IOD/pages/10095273 clients can print to the printer server (which has a leg in this network). Note that direct printing is not permitted and restricted by Access Control Lists.
You will need a Queen's College username and password to complete this guide, this is different from your Single Sign On (Nexus) or Remote Access (eduroam/VPN) accounts, if you do not have a Queen's College account please get in touch with the IT Office via email it-support@queens.ox.ac.uk or phone 79205.
Canon Printer Driver Download
Download the Epson drivers for your Operating System
- College Office - Epson AM-C5000 Series - https://www.epson.co.uk/en_GB/support/sc/workforce-enterprise-am-c5000/s/s2557?selected-tab=drivers&selected-os=macOS+14+%28Sonoma%29#drivers
- Old Members Office - Epson WF-C879R Series - https://www.epson.co.uk/en_GB/support/sc/epson-workforce-pro-wf-c879r/s/s1777?selected-tab=&selected-os=macOS+14+%28Sonoma%29
Step-by-step guide
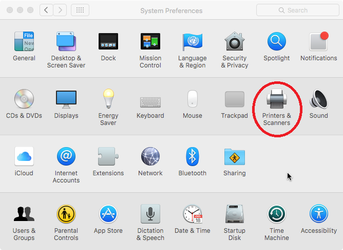
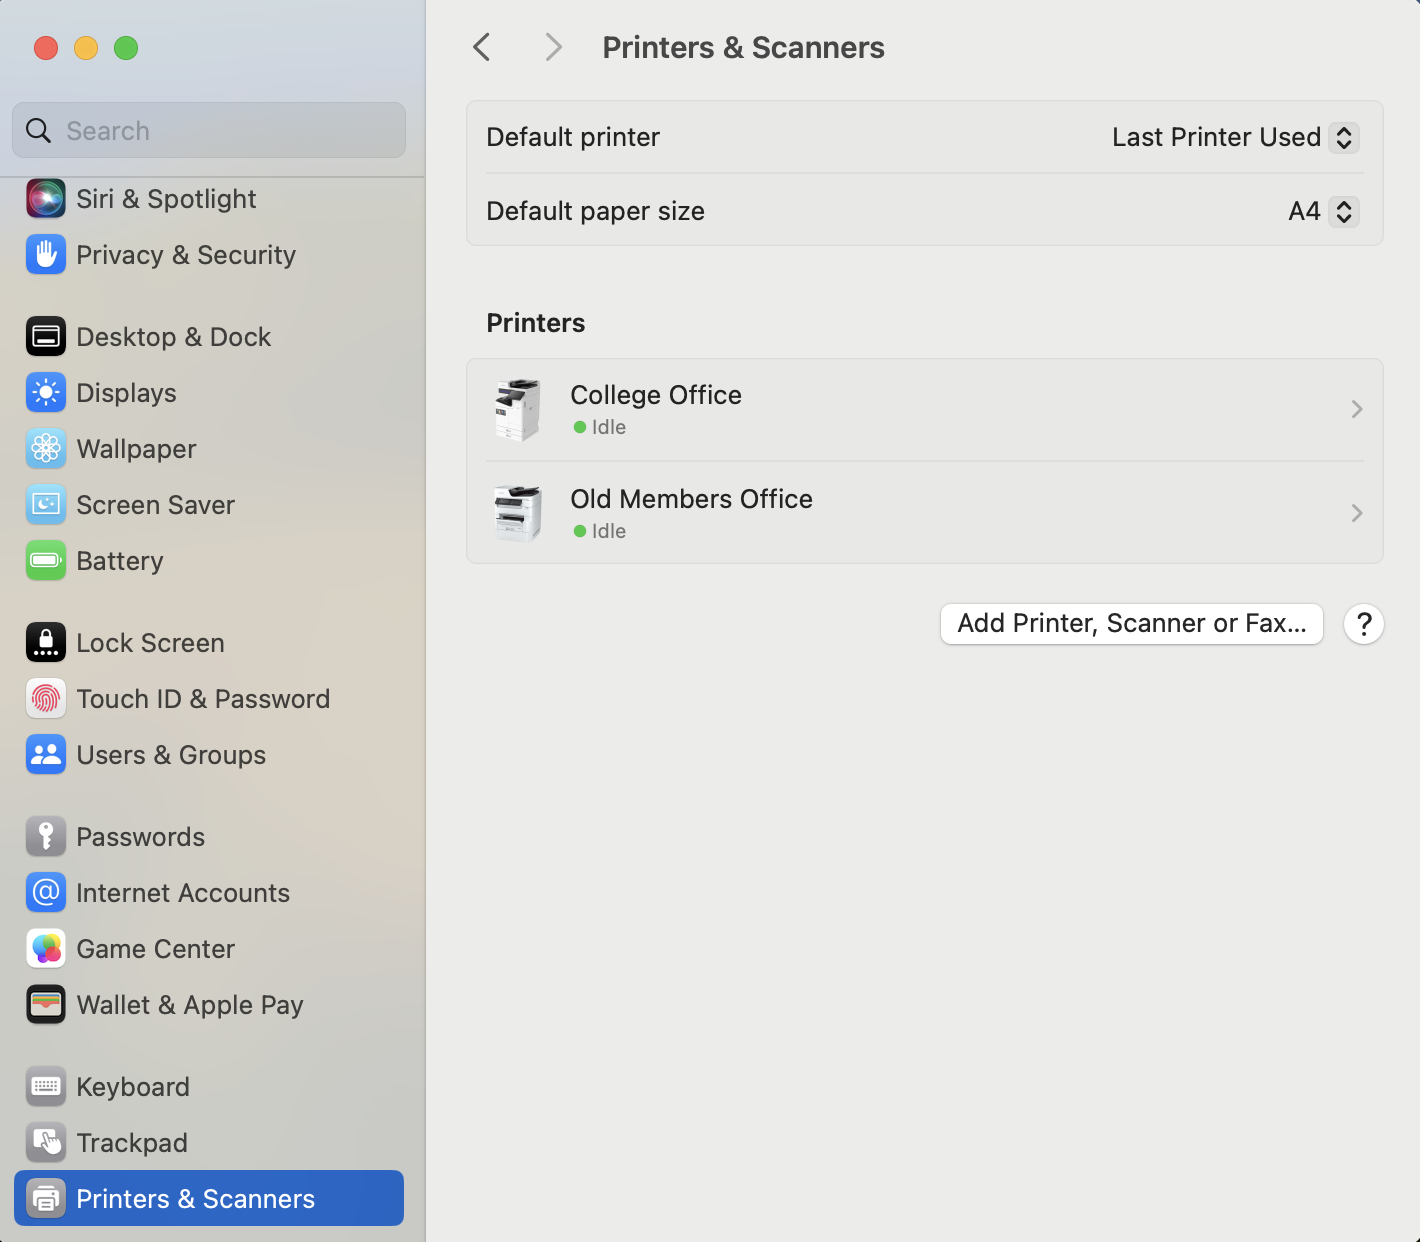
Launch System Preferences and select Printers & Scanners |
|
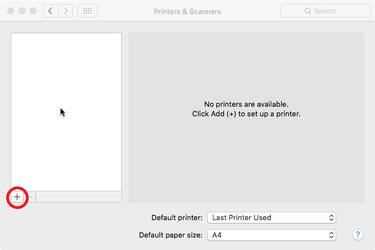
| Click the + (add) button. |
|
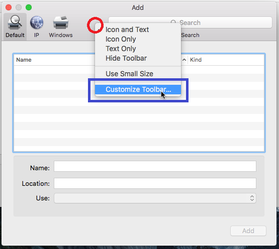
| If this is your first time adding a Queen's College printer right click (or Ctrl + Click if you have not configured a right mouse click on your Mac) in the toolbar (to the right of 'Windows') and from the menu that appears click Customize Toolbar... |
|
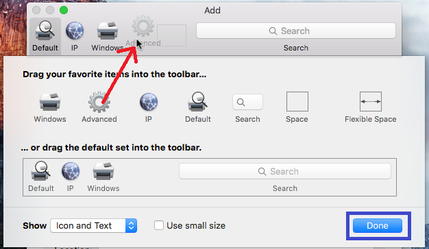
| From the window that appears click and drag the 'Advanced' icon into the toolbar as shown in the screenshot. Then click Done. |
|
|
|
MFD - College Officeipps://QC-vPaperCut01.queens.ox.ac.uk:9164/printers/MFD-College_Office | Epson AM-C5000 SeriesDownload macOS driver direct from Epson: Please see guide on how to install printer drivers - Obsolete - Install Canon printer driver on macOS Additional settings
|
MFD - Old Members OfficeMFD - OMO ipps://QC-vPaperCut01.queens.ox.ac.uk:9164/printers/MFD-Old_Members_Office MFD - FQ1AMFD - FQ1A ipps://QC-vPaperCut01.queens.ox.ac.uk:9164/printers/MFD-FQ1A | Epson WF-C879R SeriesDownload macOS driver direct from Epson: Please see guide on how to install printer drivers - Obsolete - Install Canon printer driver on macOS Additional settings
|
From the window that appears select the driver which corresponds to the printer you are using (referring to the table above). Click OK. | 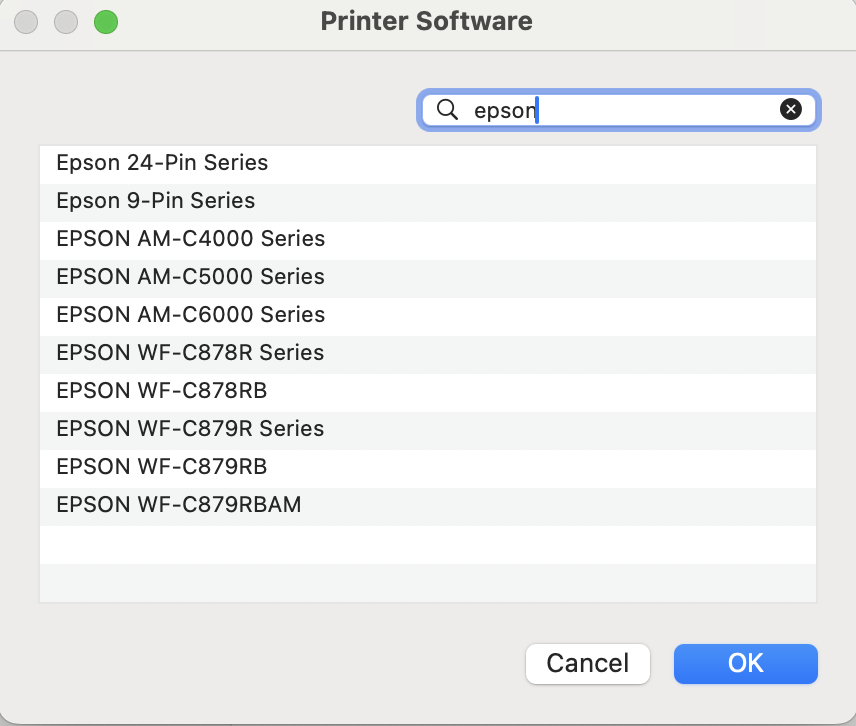 |
| With the printer now configured click Add. | 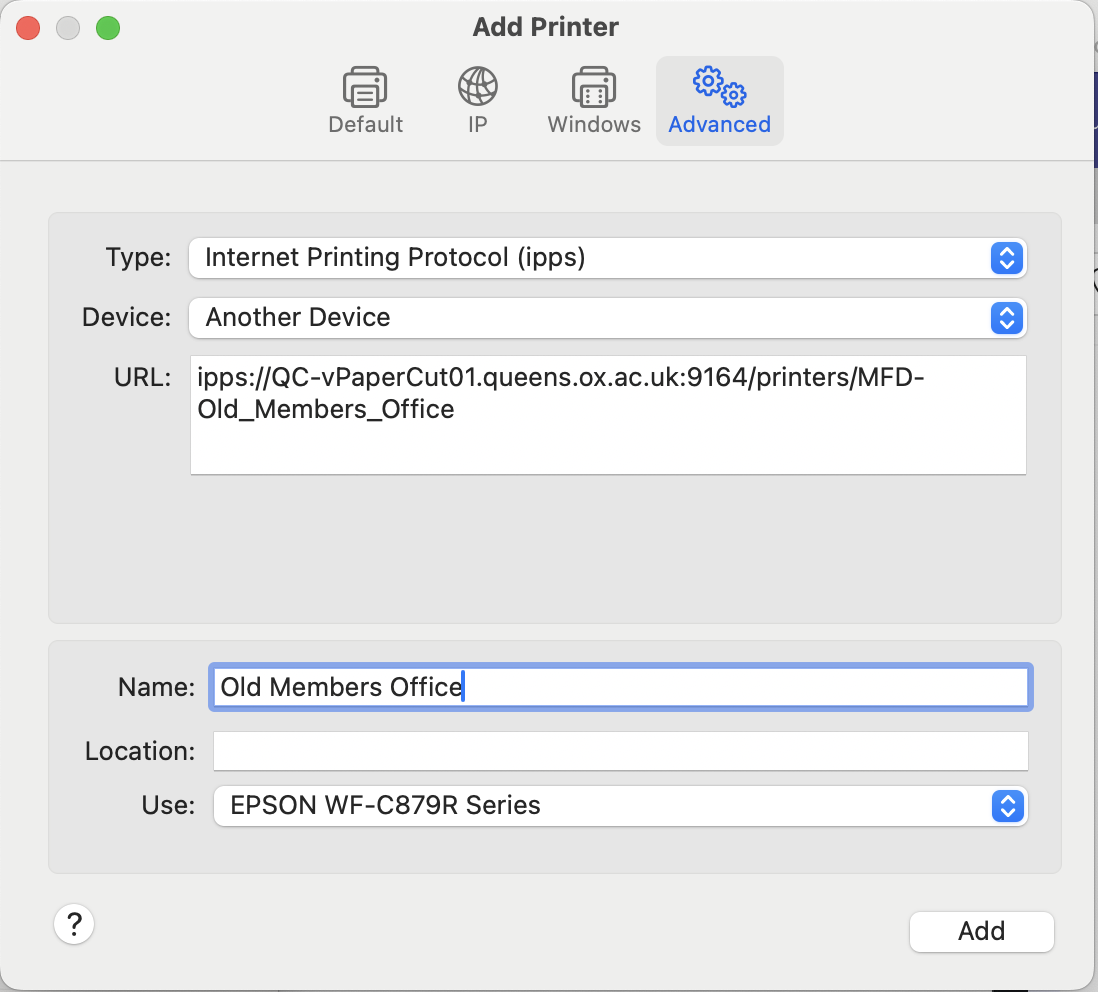 |
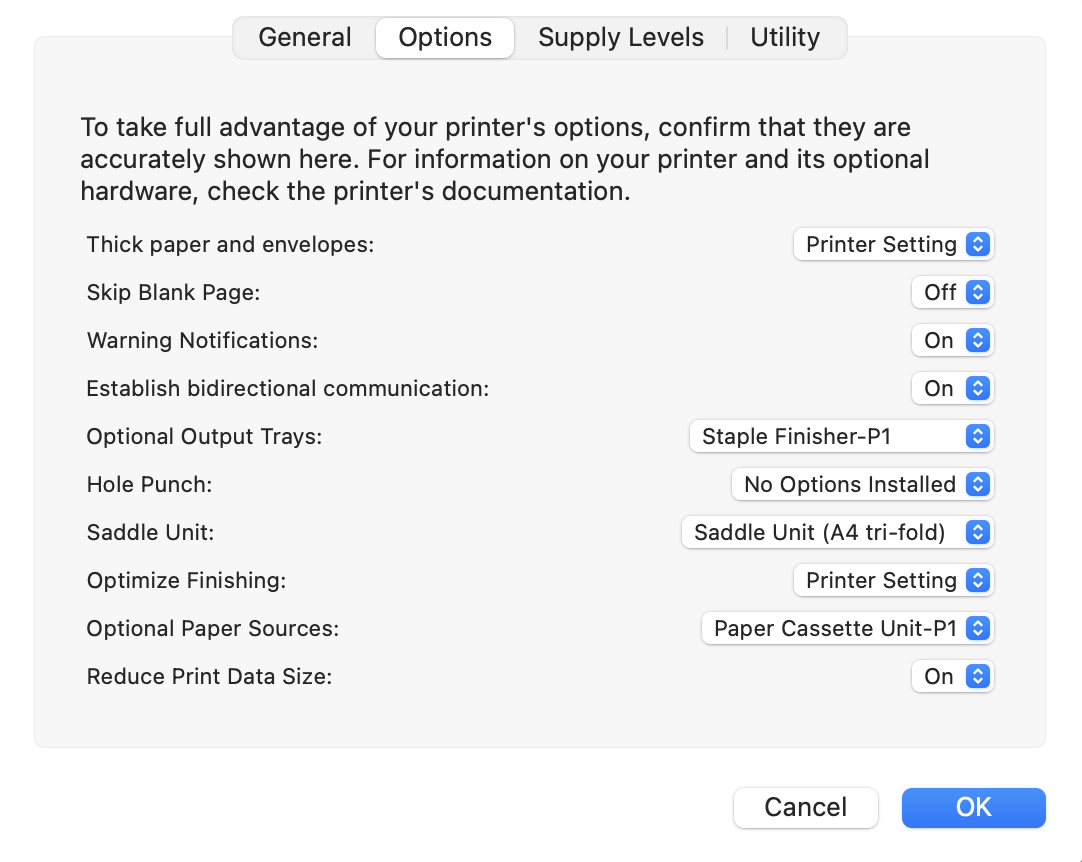
Depending on the printer that you are connecting to you maybe prompted for additional options, refer to the table in the steps above and tick/select the appropriate options See Additional Settings for specific MFDs above. (Example screenshot on the right is for the College Office MFD) |
|
| Your printer is now configured for use. |
|
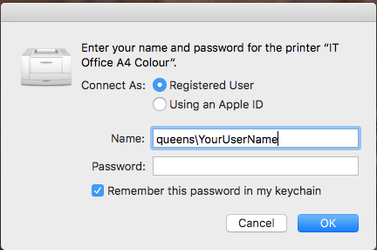
The first time you print to the device you will be prompted for your Queen's College username (prefixed by queens\) and password, once you have entered these details make sure you tick the box to save the password to your keychain for later use. Important to remember to prefix your username with: queens\ So it looks like this: queens\unit1234 |
|
Related articles